
My Take on the Blender Donuts
“houston, i don’t know whether that does you any good, but there is something out there.”
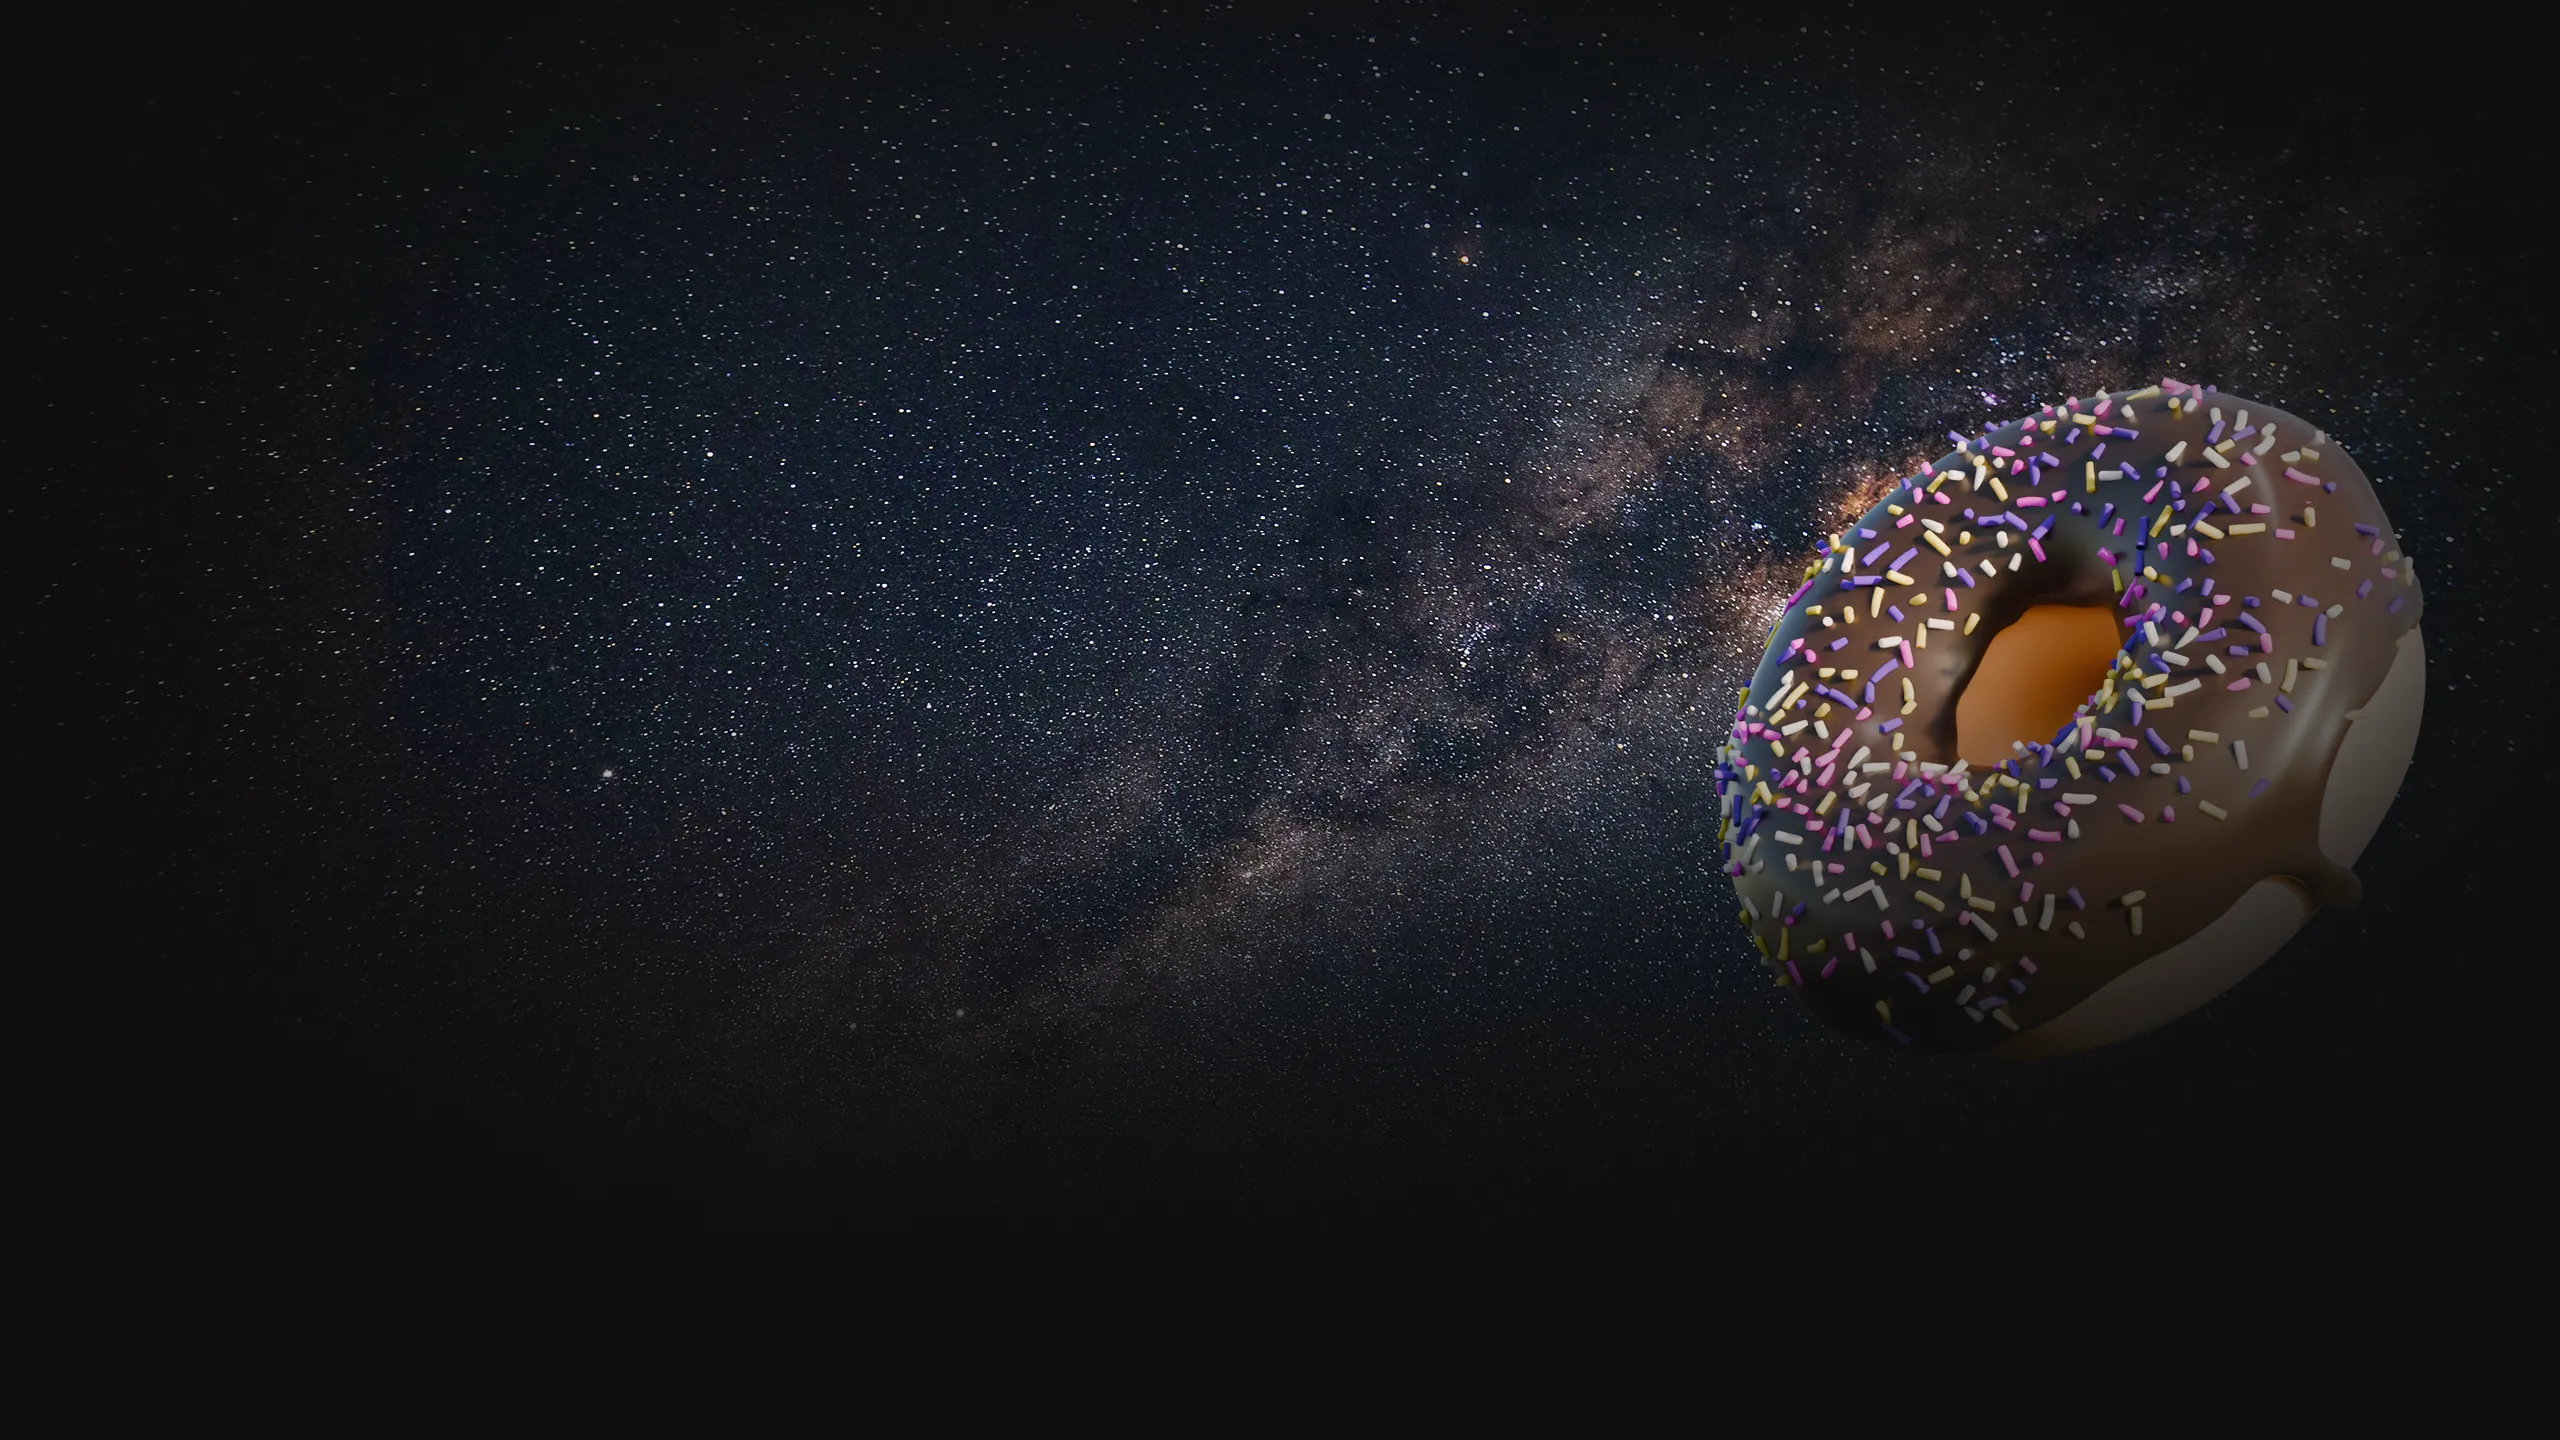
“houston, i don’t know whether that does you any good, but there is something out there.”
Inside chroma, we explore the fun edges of digital art. I’ve toyed with 3D for years – small experiments, abstract shapes, stuff I’ll eventually post here. The Blender Donut holds a strange gravity of its own: part ritual, part milestone. Let’s dive in, my dear readers.
A sample embedded model. This is a baked .glb you can spin. For the web embed I collapsed the procedural setup (via Realize Instances), simplified materials, and trimmed geometry so it loads fast on mobile. Think of it as the same donut you see in the video, but optimized for real-time: fewer draw calls, lighter textures, and no heavy subsurface tricks. Desktop: drag to orbit, scroll to zoom. Mobile: one-finger rotate, pinch to zoom.
Why the sprinkles are white here:
In the tutorial you randomize sprinkle colors with Geometry Nodes/material variation. But when you bake instances for glTF, per-instance color collapses unless you split colors into separate materials. For the live viewer I forced a single material on sprinkles to keep the file lean and stable across browsers – hence the clean white look.
Geometry Nodes (still related to sprinkles):
– Scatter: Poisson-disk distribution on the icing mesh so sprinkles don’t overlap.
– Instance: a collection of sprinkle meshes, randomized rotation/scale, “Pick Instance” on.
– Bake: Realize Instances to turn them into real geometry for export.
– (Optional) Material override: Set Material – one material to keep it tidy for the web.
Result: controllable density, believable randomness, exportable mesh.
Lessons learned:
– Physics: Really hard to tame on Blender, compared to Autodesk Maya. Rule of thumb: if stuff doesn’t act as you want it, change the mass or the gravity constant (even if it’s not Earth’s 9.8m/s^2).
– Glaze shading: the line between plastic and chocolate icing is very thin – care on the Roughness attribute.
– Sprinkle performance: maybe create each individually, which will tank performance and bloat size, but they might export properly.
– Noise: Frame-Gen interpolation techniques (to obtain the slow-mo feel) introduce artifacts. Don’t use frame-gen and instead patiently wait for more frames/second to render.
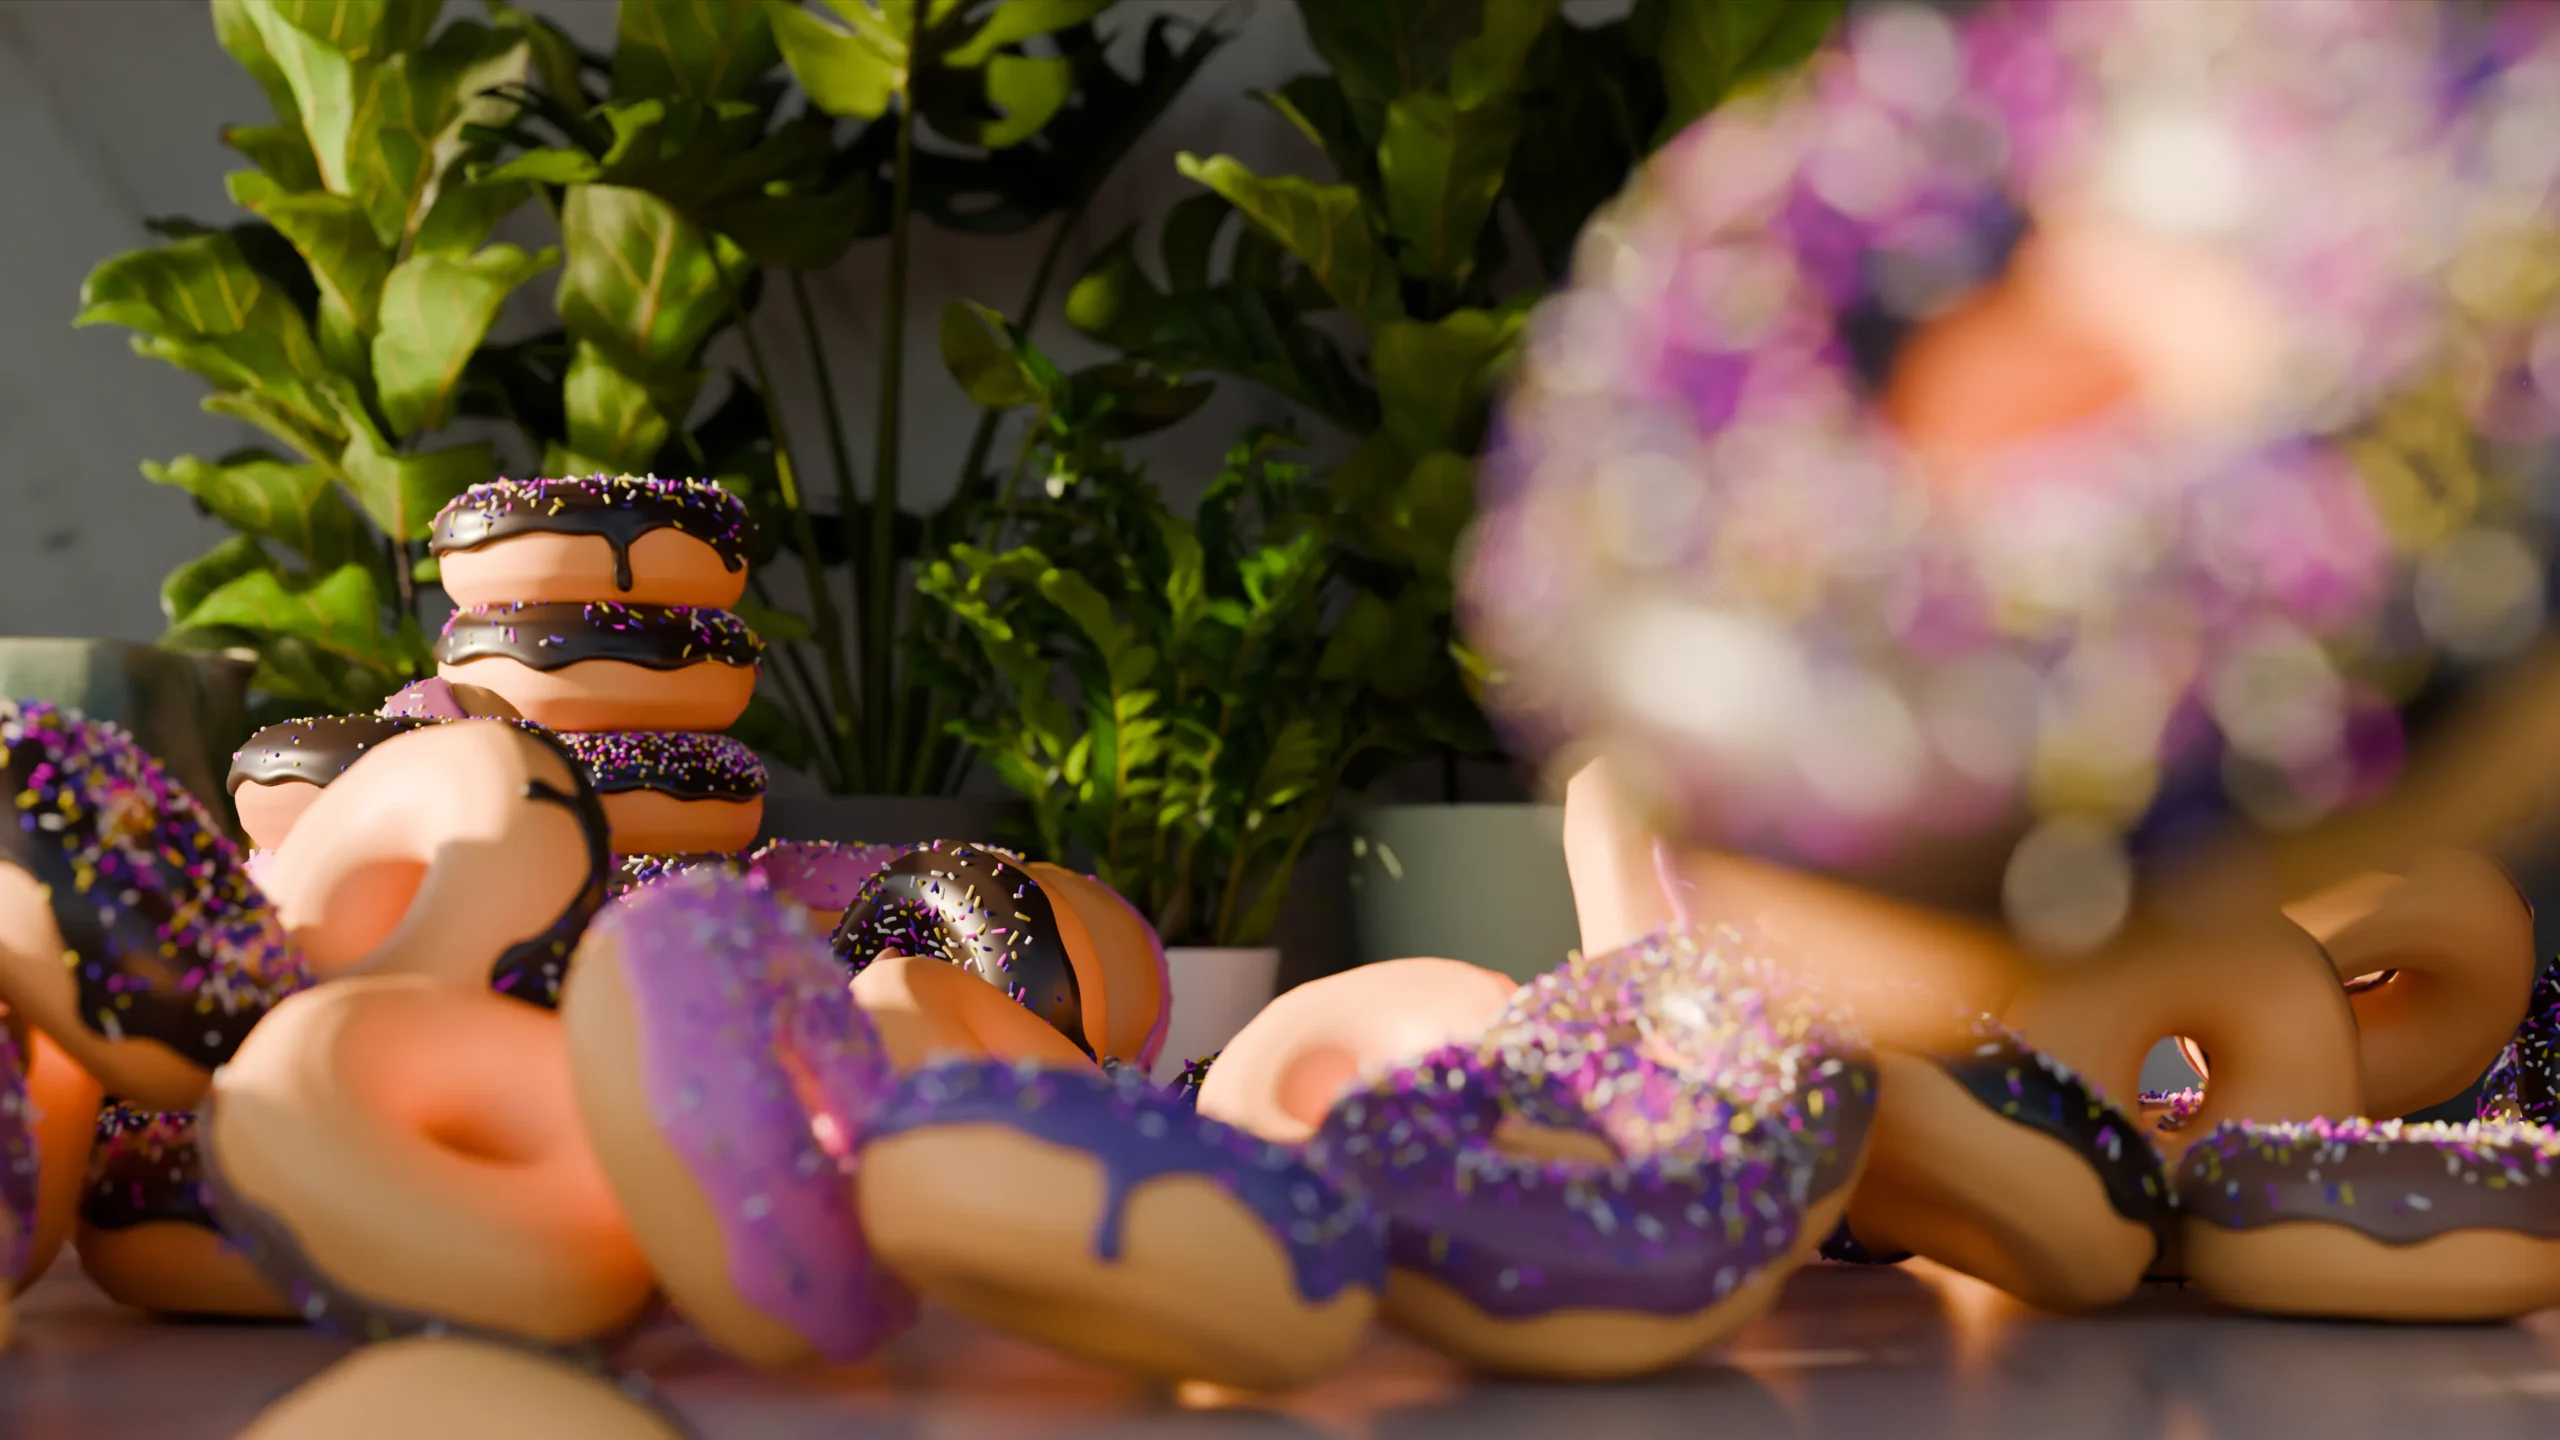
In the gallery below, I took out some 100% pure render frames.
After a dozen lighting tests, too many bakes, and one minute of donuts misbehaving on a kitchen counter, I showed you how a tutorial can turn into a small, personal study. From stills to motion to a model you can turn in your hands.
You now have the context to see the Blender donut tutorial not as a checkbox and as “another skill”, but as a cool experiment you can endlessly build upon, to create the next great piece of art. I’ll keep this as my little hobby, but for you, who knows? You might become the greatest 3D artist this world has ever seen and I truly wish that for you. Thanks for tagging along, you’re awesome.
Much more art, sound, and experiment is coming soon, so:
Stay tuned right here, on Unbound Planet, with your favorite host.
–Theo
Contact me🔗 for suggestions, feedback, ideas.
sources: hero